
Creamy Homemade Vanilla Pudding Recipe
I’m so excited to share this Creamy Homemade Vanilla Pudding Recipe with you because it’s truly a classic dessert that never fails to bring comfort. There’s something magical about homemade pudding that just can’t be replicated by store-bought versions—it’s creamier, richer, and bursting with real vanilla flavor. Whether you’re whipping this up for a cozy night in or to impress guests at your next dinner party, this pudding delivers every single time.
I love making this recipe on a lazy weekend afternoon when I have time to enjoy the process and the anticipation of that velvety texture. Plus, it only takes a handful of simple ingredients, so you probably already have everything in your kitchen. Trust me, once you try this Creamy Homemade Vanilla Pudding Recipe, you’ll keep coming back to it whenever you want a fuss-free, satisfying dessert.
Ingredients You’ll Need
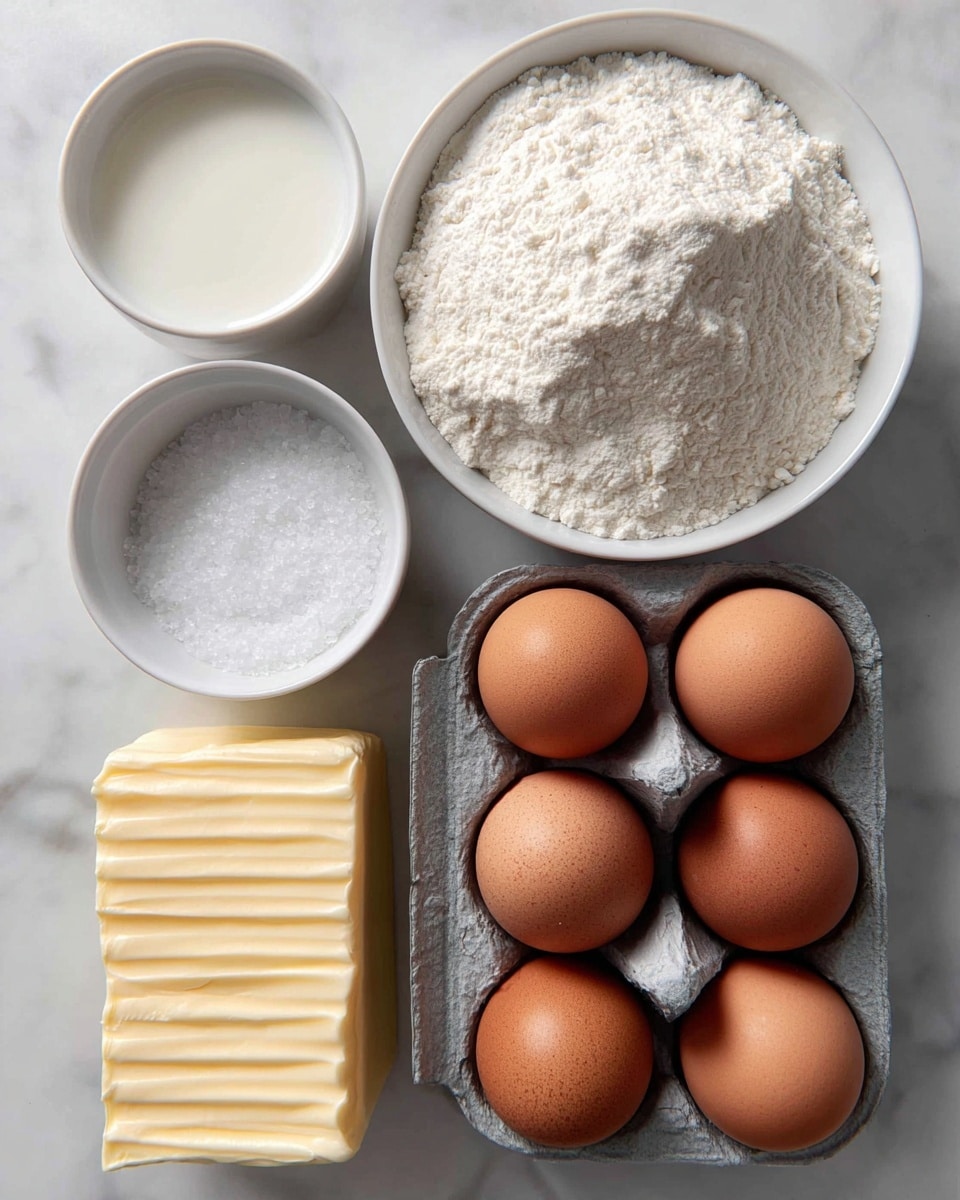
Each ingredient in this Creamy Homemade Vanilla Pudding Recipe plays an important role to create that perfect, silky texture and deep vanilla taste. I’ll share a few shopping tips to help you pick the best options.
- Whole milk: Using whole milk makes the pudding rich and creamy—a lower-fat milk won’t give you the same luscious texture.
- Butter: Just a little butter adds smoothness and a subtle richness that elevates the flavor.
- Pure vanilla extract: Always go for pure extract over imitation—you’ll taste the difference in this recipe!
- Cornstarch: This is your thickening agent. Make sure it’s fresh for best results so your pudding sets beautifully.
- Sugar: Provides just the right sweetness to balance the creamy base. I usually use regular granulated sugar.
- Pinch of salt: A small pinch enhances the flavors, balancing the sweetness and bringing out the vanilla.
- Egg yolks: These give the pudding richness and help create that classic custard-like texture.
Variations
One of the best things about this Creamy Homemade Vanilla Pudding Recipe is how versatile it is. I love tweaking it depending on the season or my mood, and I encourage you to personalize it too!
- Chocolate pudding: I sometimes mix in 2 tablespoons of cocoa powder along with the cornstarch for a quick chocolatey twist that everyone adores.
- Dairy-free version: Swap the whole milk for coconut or almond milk, and use coconut oil instead of butter — it’s a great option my vegan friends love.
- Spiced vanilla: Adding a little cinnamon or nutmeg to the milk infuses warm flavors, perfect for colder months.
- Fruit topping: Fresh berries or sliced bananas on top complement the vanilla beautifully and add a refreshing element.
How to Make Creamy Homemade Vanilla Pudding Recipe
Step 1: Mix Dry Ingredients and Egg Yolks
Start by whisking together the sugar, cornstarch, and a pinch of salt in a medium bowl. Then, add the egg yolks and mix until smooth. This step is crucial because it ensures the cornstarch blends evenly and the pudding won’t have lumps. I like to use a whisk for this to get a silky base.
Step 2: Heat the Milk and Butter
Pour 2½ cups of the whole milk into a saucepan, add the butter, and warm it over medium heat until it’s hot but not boiling—just coming to a gentle simmer. That little bit of butter melts perfectly and adds that silky mouthfeel that’s the hallmark of this Creamy Homemade Vanilla Pudding Recipe.
Step 3: Temper the Egg Mixture
Slowly pour about a cup of the hot milk into the egg yolk mixture while whisking constantly. This step, called tempering, prevents the eggs from scrambling by gradually raising their temperature. Once combined, pour the egg mixture back into the saucepan with the remaining milk. You want to be patient here—rushing leads to curdled pudding.
Step 4: Cook Until Thickened
Return the saucepan to medium heat and cook, whisking constantly, until the pudding thickens and coats the back of a spoon—about 5 to 7 minutes. It’s important to keep stirring to prevent burning or lumps. When you see that rich, velvety consistency, remove it from heat and stir in the vanilla extract. The aroma at this stage is unbeatable!
Step 5: Chill and Enjoy
Pour the pudding into serving dishes or a large bowl, cover with plastic wrap (pressing it onto the surface to prevent a skin from forming), and refrigerate for at least 2 hours. The pudding sets beautifully as it cools, and trust me, the wait is totally worth it.
How to Serve Creamy Homemade Vanilla Pudding Recipe
Garnishes
I love topping my vanilla pudding with a sprinkle of freshly grated nutmeg or cinnamon for an extra touch of warmth. Fresh berries, like raspberries or blueberries, add a nice pop of color and tartness that balances the sweetness. Sometimes, a dollop of whipped cream or a drizzle of caramel sauce makes it feel extra special without much effort.
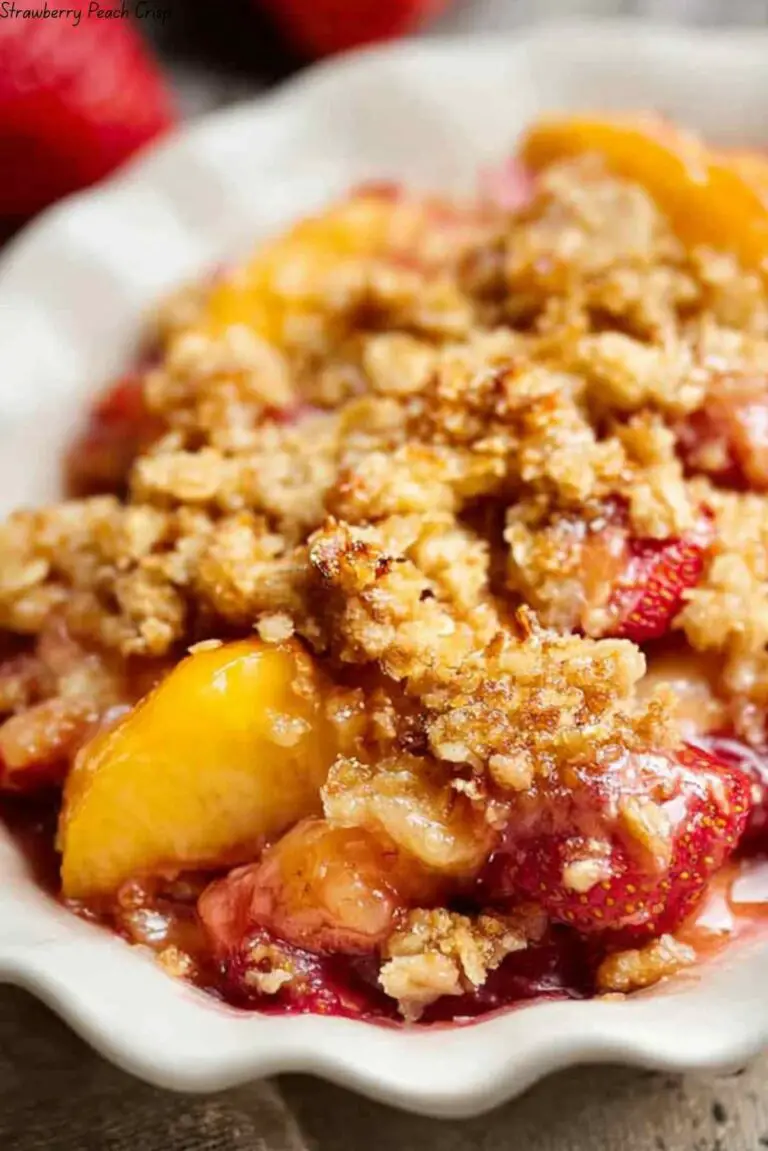
Side Dishes
If you want to serve it as part of a fuller dessert spread, I recommend warm apple crisps or a slice of buttery shortbread on the side. The combination of creamy pudding and crunchy or crumbly treats is heavenly—I’ve done this for family gatherings and it’s always a hit.
Creative Ways to Present
For special occasions, I like to layer this homemade pudding with crushed cookies or granola in clear glasses to create pretty parfaits. Another idea that never fails to impress is topping the pudding with edible flowers or a shard of dark chocolate. These little touches make your dessert table look stunning and show off your efforts beautifully.
Make Ahead and Storage
Storing Leftovers
I store leftover pudding in airtight containers in the fridge for up to 3 days. Just be sure to press plastic wrap directly onto the pudding’s surface to keep it from forming a skin. When I’ve done this, the texture stays smooth and delicious even after a couple of days.
Freezing
Freezing pudding is a bit tricky because the texture can change, but if you have leftovers, you can freeze it in airtight containers. When thawing, expect it to be less creamy, so I recommend blending or whisking it again once defrosted. In my experience, freezing works better if you plan to use the pudding in recipes like trifles or pies.
Reheating
If you want to enjoy warmed pudding, gently reheat it over low heat on the stove, stirring constantly. Adding a splash of milk while reheating helps restore the creamy texture. Avoid microwaving as it can cause uneven heat spots or curdling.
FAQs
-
Can I use low-fat milk instead of whole milk in this pudding recipe?
While you can use low-fat or skim milk, using whole milk is best for that rich, creamy texture in this Creamy Homemade Vanilla Pudding Recipe. Lower-fat milk makes the pudding thinner and less silky, but it will still work if you want a lighter option.
-
How do I prevent lumps in my vanilla pudding?
The key is to whisk the dry ingredients and egg yolks thoroughly before combining with warm milk, and to whisk constantly while cooking on the stove. Tempering the eggs by slowly adding hot milk to the egg mixture also avoids lumps and scrambling.
-
Why is there a skin on my pudding after refrigerating?
A skin forms when air touches the pudding’s surface as it cools. To prevent this, press plastic wrap directly onto the pudding immediately after cooking. This keeps the surface moist and smooth.
-
Can I make this pudding without eggs?
Yes, but the texture will be different. Egg yolks add richness and creaminess, so without them, your pudding might be lighter and less custard-like. You can increase the cornstarch slightly or try a vegan pudding recipe if you need an egg-free option.
Final Thoughts
This Creamy Homemade Vanilla Pudding Recipe holds a special place in my heart because it’s one of those simple pleasures that brings instant joy. The way it comes together with basic ingredients but tastes so indulgent is why I keep it in my dessert rotation. I hope you enjoy making and sharing this pudding as much as I do—it’s like a warm hug in a bowl, perfect anytime you need a little sweetness in your day.
Print
Creamy Homemade Vanilla Pudding Recipe
- Prep Time: 10 minutes
- Cook Time: 10 minutes
- Total Time: 2 hours 20 minutes (including chilling time)
- Yield: 4 servings 1x
- Category: Dessert
- Method: Stovetop
- Cuisine: American
Description
This homemade vanilla pudding recipe is a creamy, rich dessert made from scratch using simple ingredients like whole milk, egg yolks, sugar, and vanilla extract. It’s a comforting classic that can be enjoyed on its own or used as a filling for various desserts.
Ingredients
Liquid Ingredients
- 3 cups whole milk, divided
- 1 tablespoon butter
- 1 teaspoon pure vanilla extract
Dry Ingredients
- 3 tablespoons cornstarch
- ¾ cup sugar
- Pinch of salt
Other Ingredients
- 3 egg yolks
Instructions
- Combine Dry Ingredients: In a medium saucepan, whisk together the cornstarch, sugar, and a pinch of salt evenly to ensure the pudding sets smoothly.
- Mix Egg Yolks and Milk: In a separate bowl, whisk the egg yolks with 1 cup of the milk until fully incorporated and smooth.
- Heat Remaining Milk: Pour the remaining 2 cups of milk into the saucepan with the dry ingredients and cook over medium heat, stirring constantly until just about to simmer.
- Temper Egg Mixture: Slowly add a small amount of the hot milk mixture into the egg yolks while whisking vigorously to temper the eggs and prevent curdling.
- Cook Pudding: Pour the tempered egg yolk mixture back into the saucepan and continue cooking over medium heat, stirring constantly until the mixture thickens and comes to a gentle boil; this should take about 3–5 minutes.
- Add Butter and Vanilla: Remove the saucepan from heat, then stir in the butter and vanilla extract until the butter melts completely and the mixture is smooth.
- Cool and Serve: Pour the pudding into individual serving dishes or a large bowl, cover with plastic wrap directly on the surface to prevent a skin from forming, and refrigerate for at least 2 hours before serving.
Notes
- Whisk constantly during cooking to avoid lumps and prevent the pudding from sticking to the pan.
- Using plastic wrap on the pudding surface while cooling prevents a thick skin from forming.
- For a lighter pudding, you can substitute whole milk with 2% milk, but the texture will be slightly less creamy.
- This pudding base is perfect for layering in trifles or filling for cakes and pastries.


