Rainbow Jello Cake Recipe
If you love vibrant, fun desserts that double as a colorful centerpiece, you’re going to adore this Rainbow Jello Cake Recipe. It’s one of those nostalgic treats that brings a joyful pop of color and flavor to any gathering—even on a regular Tuesday when you just want to brighten the table. The best part? It’s surprisingly simple to make and yields layers of fruity, fluffy cake and jiggly, jewel-toned gelatin that’s as tasty as it is eye-catching.
I first made this Rainbow Jello Cake a few years back for a summer potluck, and it was an instant hit. People kept asking how I got those perfect gelatin layers, and trust me—this recipe holds some insider tips that’ll have you impressing friends and family. Whether it’s a birthday party, holiday, or just when you’re craving something a little special, this Rainbow Jello Cake Recipe is an absolute winner.
Ingredients You’ll Need
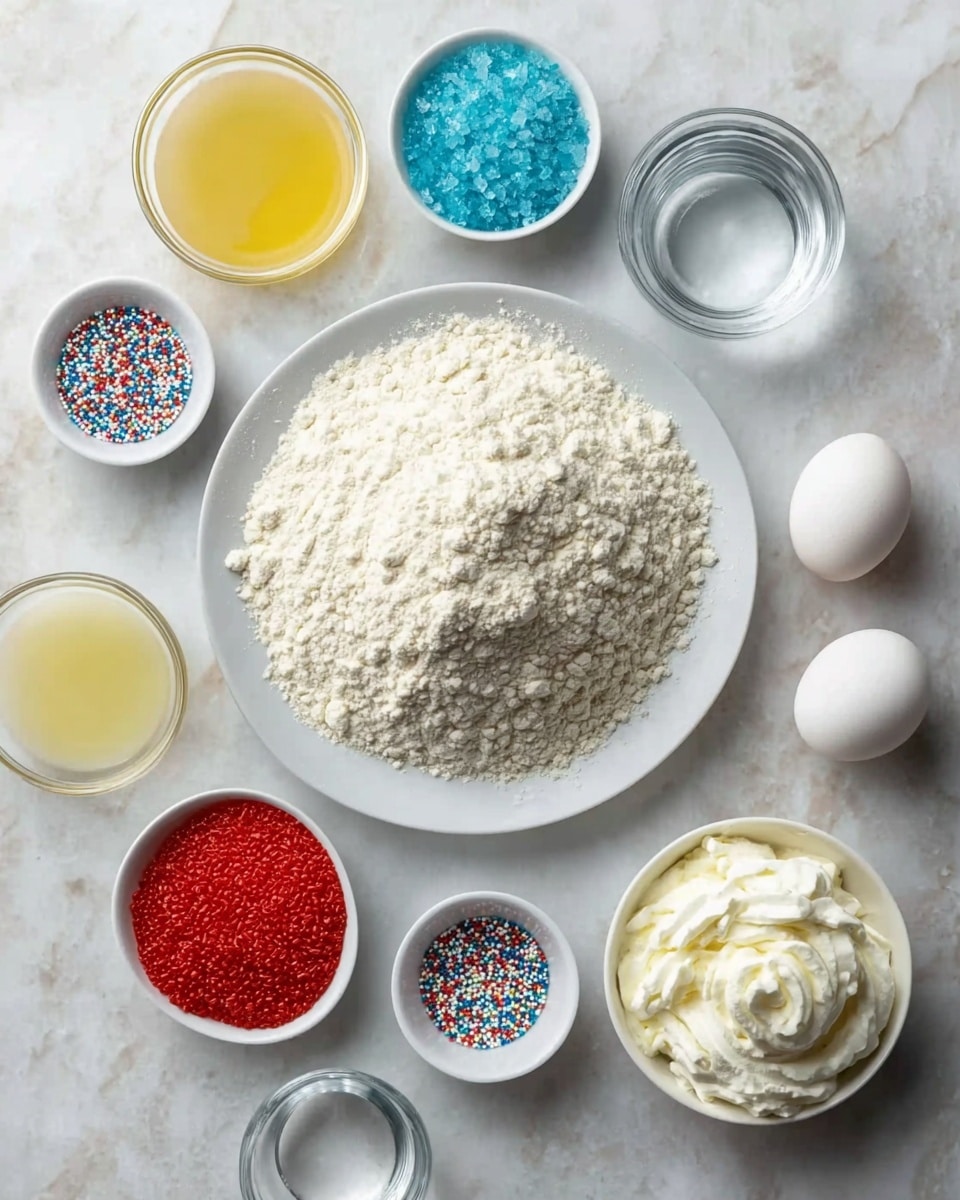
Each ingredient in this Rainbow Jello Cake Recipe plays a starring role in creating those delicate layers and that fluffy, moist cake base. I’ve found that using room temperature egg whites makes a big difference in the cake’s texture, and being precise with your gelatin measurements really helps with those neat, vibrant colors.
- White cake mix: Go for a high-quality box for the fluffiest, sweetest cake foundation that won’t overpower the gelatin layers.
- Water: Divided between mixing the cake batter and dissolving the gelatin for perfect consistency in both.
- Vegetable oil: It keeps the cake moist without adding any strong flavors.
- Egg whites: Using egg whites instead of whole eggs makes the cake lighter and gives those layers more body.
- Boiling water: Essential for fully dissolving each gelatin mix, ensuring smooth, vibrant layers.
- Strawberry, orange, lemon, lime, and berry blue gelatin mixes: These classic flavors bring the Rainbow Jello Cake alive with freshness and balanced tartness.
- Food color gels (red, orange, yellow, green, blue): Just a few drops add vivid depth to each gelatin layer—don’t skip or overdo it!
- Whipped topping: Provides a cool, creamy finish that perfectly offsets the colorful gelatin.
- Rainbow sprinkles: Totally optional but fun for a festive flair—like confetti on your dessert!
Variations
I love that this Rainbow Jello Cake Recipe is so adaptable, making it easy to put your own spin on it. Sometimes, I swap out flavors or tweak the thickness of the gelatin layers depending on my mood or the season. You should definitely feel free to customize it to your taste and event!
- Variation: For a dairy-free version, try coconut whipped topping instead of regular whipped cream—I’ve done this for friend’s allergies, and it was a huge success.
- Flavor swaps: If you want a different color palette or flavor profile, experiment with cherry, peach, or pineapple gelatin for a tropical twist.
- Layer thickness: You can make your gelatin layers thicker or thinner depending on how bold you want the colors to stand out. I usually shoot for about 1/3 inch per layer for balance.
- Alcohol infusion: For adult gatherings, adding a splash of flavored liqueurs like triple sec into the gelatin mixture can turn this into a grown-up party hit (just reduce the water slightly).
How to Make Rainbow Jello Cake Recipe
Step 1: Prepare the Perfect White Cake Base
Start by preheating your oven according to the white cake mix box instructions. In a large bowl, combine the cake mix, 1 cup water, vegetable oil, and four room temperature egg whites. I find that gently folding the egg whites in last helps keep the batter light and airy—don’t overmix! Pour this batter into a greased 9×13-inch pan and bake it until a toothpick inserted comes out clean, usually about 25-30 minutes. Let it cool completely—this step is crucial so the gelatin layers stay firm and intact.
Step 2: Mix and Chill Each Gelatin Layer
Here’s where the magic happens. Divide 3 cups of boiling water evenly—1/2 cup each to dissolve the five gelatin mixes separately in bowls. Stir until fully dissolved, then add your 5-7 drops of the corresponding food color gels to amp up each layer’s vibrancy. Pour the first gelatin layer (strawberry/red) evenly over the cooled cake, then chill in the fridge until the layer is fully set but still slightly tacky, about 30-45 minutes. Repeat this step with orange, lemon, lime, and finally berry blue gelatin, layering one by one and allowing each to set before adding the next. Patience really pays off here to keep each layer neat and defined!
Step 3: Finish with a Whipped Topping and Sprinkles
Once all the gelatin layers have set, spread the thawed whipped topping evenly over the top of the cake as a creamy, cloud-like finish. This step balances the fruity flavors with a touch of smooth sweetness. If you want to elevate the presentation, sprinkle some rainbow sprinkles on top for a festive, playful look that no one can resist.
How to Serve Rainbow Jello Cake Recipe
Garnishes
I always keep a stash of rainbow sprinkles on hand to add that extra sparkle to the finished cake. Alternatively, fresh mint leaves or thinly sliced strawberries make a lovely, fresh garnish that pairs beautifully with the fruity gelatin flavors.
Side Dishes
This cake shines as a dessert star, so I usually pair it with light sides like fresh fruit platters or a simple scoop of vanilla ice cream. For brunches, it’s fantastic alongside light egg dishes or even a citrusy salad to keep the meal bright and balanced.
Creative Ways to Present
One of my favorite ways to present this Rainbow Jello Cake Recipe is by slicing it into individual clear cups or mini jars for parties—each guest gets to see those beautiful layers up close! You can also cut the cake into fun shapes with cookie cutters to match party themes, which always gets a smile from the kiddos.
Make Ahead and Storage
Storing Leftovers
This cake keeps beautifully in an airtight container in the refrigerator for up to 4 days. I usually cover it tightly with cling wrap before putting on the container lid to protect those delicate gelatin layers from absorbing any odors. It stays moist and fresh, perfect for enjoying later without losing any of its charm.
Freezing
Freezing gelatin-based cakes can be tricky because the texture might change, but I’ve had some success wrapping individual slices tightly in plastic wrap and freezing for up to a month. Thaw them overnight in the fridge for best texture—though fresh is always better with this one!
Reheating
Since this is a chilled dessert with gelatin layers, reheating isn’t really recommended. It’s best enjoyed cold straight from the fridge. If you’re craving a warm dessert, this cake isn’t the best fit, but that’s where a classic warm fruit tart can come in handy.
FAQs
-
Can I use homemade cake instead of a box mix for the Rainbow Jello Cake Recipe?
Absolutely! You can use your favorite homemade white cake recipe if you like, just make sure it’s fully cooled before starting the gelatin layers. The box mix is a convenient shortcut, but a scratch cake works just as well and can add a personal touch.
-
How do I prevent the gelatin layers from mixing?
The key is letting each gelatin layer chill until it’s mostly set but still slightly tacky before adding the next one. This helps them stick without blending together. Patience during this step really pays off with distinct, crisp layers.
-
Can I make this Rainbow Jello Cake Recipe vegan or vegetarian?
You can make it vegetarian by choosing gelatin alternatives like agar-agar, though this may change the texture slightly. For vegan adaptations, look for plant-based whipped toppings and cake ingredients; it might take a few experiments to get the consistency just right but it’s doable!
-
What’s the best way to cut the cake without messing up the layers?
Use a sharp knife warmed under hot water and wiped dry before slicing. Cut slowly and clean the knife between cuts to keep the layers from smearing.
Final Thoughts
Making this Rainbow Jello Cake Recipe always feels like a little celebration in my kitchen. It’s fun, colorful, and delivers smiles with every slice. If you’re looking for a dessert that’s both playful and impressive but won’t have you stressing in the kitchen, this recipe is your new best friend. Give it a try—you might just find it becoming a go-to for your special occasions (or even regular weekends!).
Print
Rainbow Jello Cake Recipe
- Prep Time: 20 minutes
- Cook Time: 30 minutes
- Total Time: 4 hours
- Yield: 12 servings 1x
- Category: Dessert
- Method: Baking
- Cuisine: American
Description
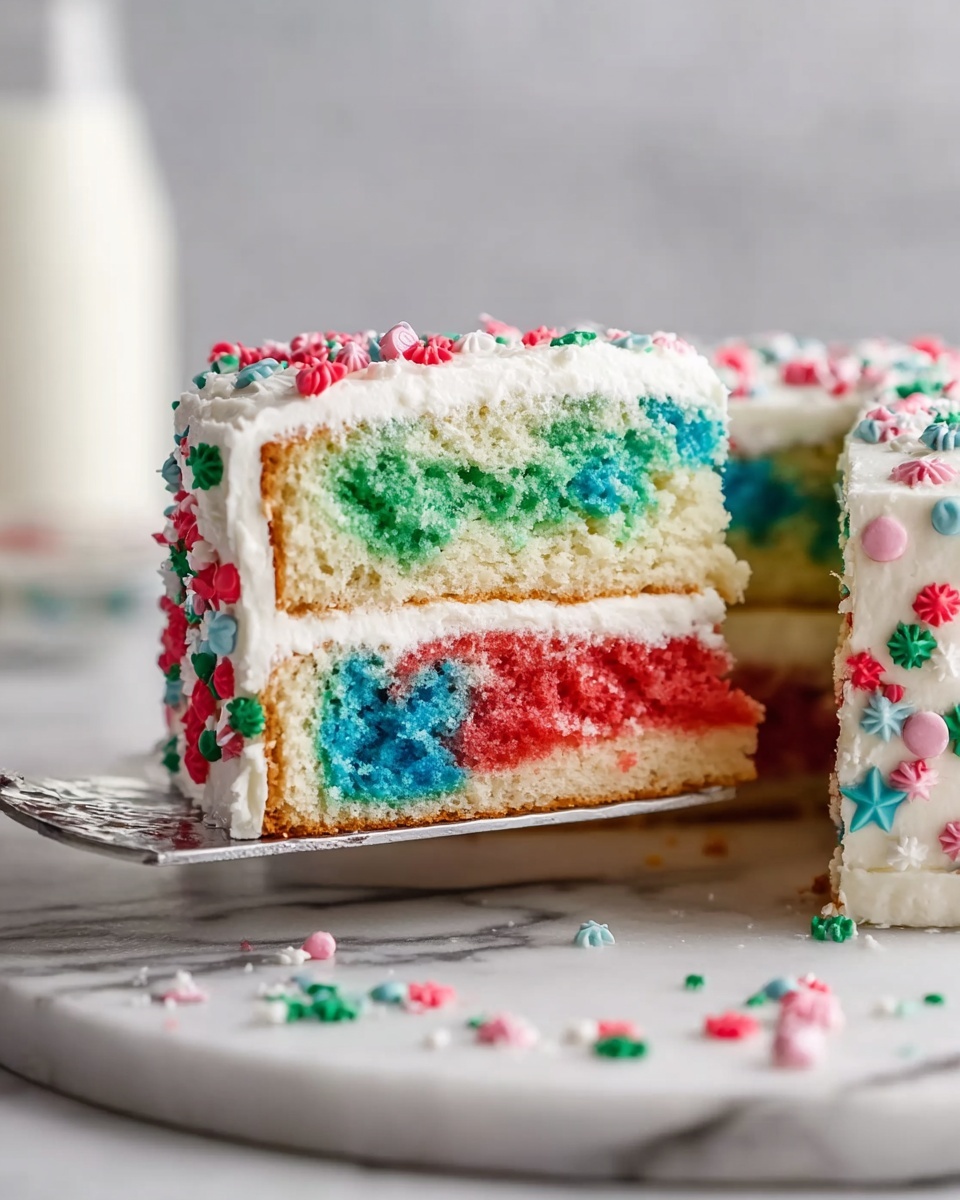
Rainbow Jello Cake is a vibrant and colorful dessert featuring layers of brightly colored gelatin over a moist white cake base. This eye-catching dessert is perfect for celebrations and offers a fun mix of flavors and textures with its light cake, jiggly gelatin layers, and creamy whipped topping.
Ingredients
Cake Ingredients
- 15.25 ounces box of white cake mix
- 1 cup water
- ½ cup vegetable oil
- 4 egg whites, room temperature
Gelatin Layers
- 3 cups boiling water, divided
- 3 ounce box of strawberry gelatin mix
- 3 ounce box of orange gelatin mix
- 3 ounce box of lemon gelatin mix
- 3 ounce box of lime gelatin mix
- 3 ounce box of berry blue gelatin mix
- Red, orange, yellow, green, and blue food color gel (5-7 drops each)
Topping and Garnish
- 8 ounce container of whipped topping, thawed
- Rainbow sprinkles, optional garnish
Instructions
- Prepare the Cake Batter: Preheat the oven as directed on the cake mix box. In a large bowl, combine the white cake mix, 1 cup water, ½ cup vegetable oil, and 4 egg whites. Beat for 2 minutes, then pour the batter into a greased 9×13 inch baking pan.
- Bake the Cake: Bake according to package instructions until a toothpick inserted in the center comes out clean, usually about 25-30 minutes. Remove from oven and allow the cake to cool completely.
- Prepare Gelatin Layers: Divide 3 cups of boiling water into 5 equal parts (about ⅗ cup each). For each gelatin flavor, dissolve one 3-ounce gelatin box in its portion of boiling water, stirring until completely dissolved. Add 5-7 drops of corresponding food color gel to intensify color if desired.
- Layer Gelatin over Cake: Once the cake is fully cooled, carefully pour the strawberry gelatin layer evenly over the cake. Refrigerate until the layer is set, about 30 minutes. Repeat this process sequentially with the orange, lemon, lime, and berry blue gelatin mixes, allowing each layer to set completely before adding the next, refrigerating for 30 minutes after each layer.
- Add Topping and Garnish: After the final gelatin layer has set, spread the thawed whipped topping evenly over the top of the cake. Garnish with rainbow sprinkles if desired for extra festive flair.
- Chill Before Serving: Refrigerate the whole cake for at least 1 hour before slicing to ensure all layers hold together cleanly.
Notes
- Use gelatin food color gels for the most vibrant colors without diluting the mixture.
- Be sure the cake is completely cool before adding gelatin layers to prevent melting the gelatin.
- Allow each gelatin layer to set fully in the fridge before pouring the next layer to maintain clear, distinct layers.
- This cake is best served chilled and consumed within 3 days for freshness.
- For a gluten-free option, substitute the white cake mix with a certified gluten-free cake mix.


