Chocolate Peppermint Kiss Cookies Recipe
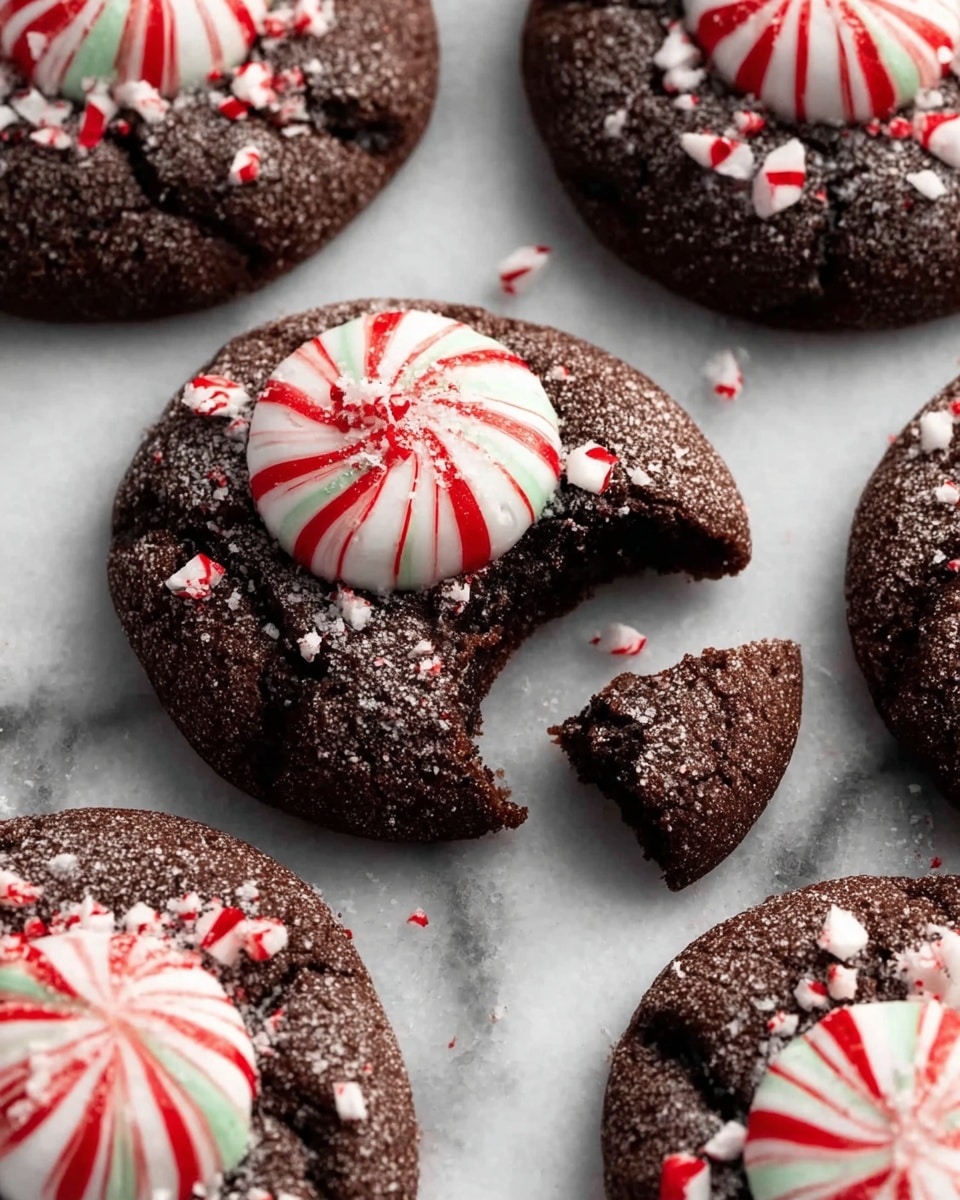
There’s something truly magical about the combination of rich chocolate and refreshing peppermint, especially in the form of cookies! This Chocolate Peppermint Kiss Cookies Recipe is one of my go-to treats during the holiday season, but honestly, it’s perfect any time you want a festive and cozy dessert. The way the soft chocolate cookie perfectly cradles a candy cane Hershey’s Kiss in the center is just pure joy in every bite.
I love how these cookies bring the best of both worlds—deep cocoa flavor with a cool peppermint surprise tucked inside. If you’re like me and enjoy making memorable treats that also impress your guests, this recipe is totally worth trying. Plus, it’s straightforward enough to whip up whenever that craving hits!
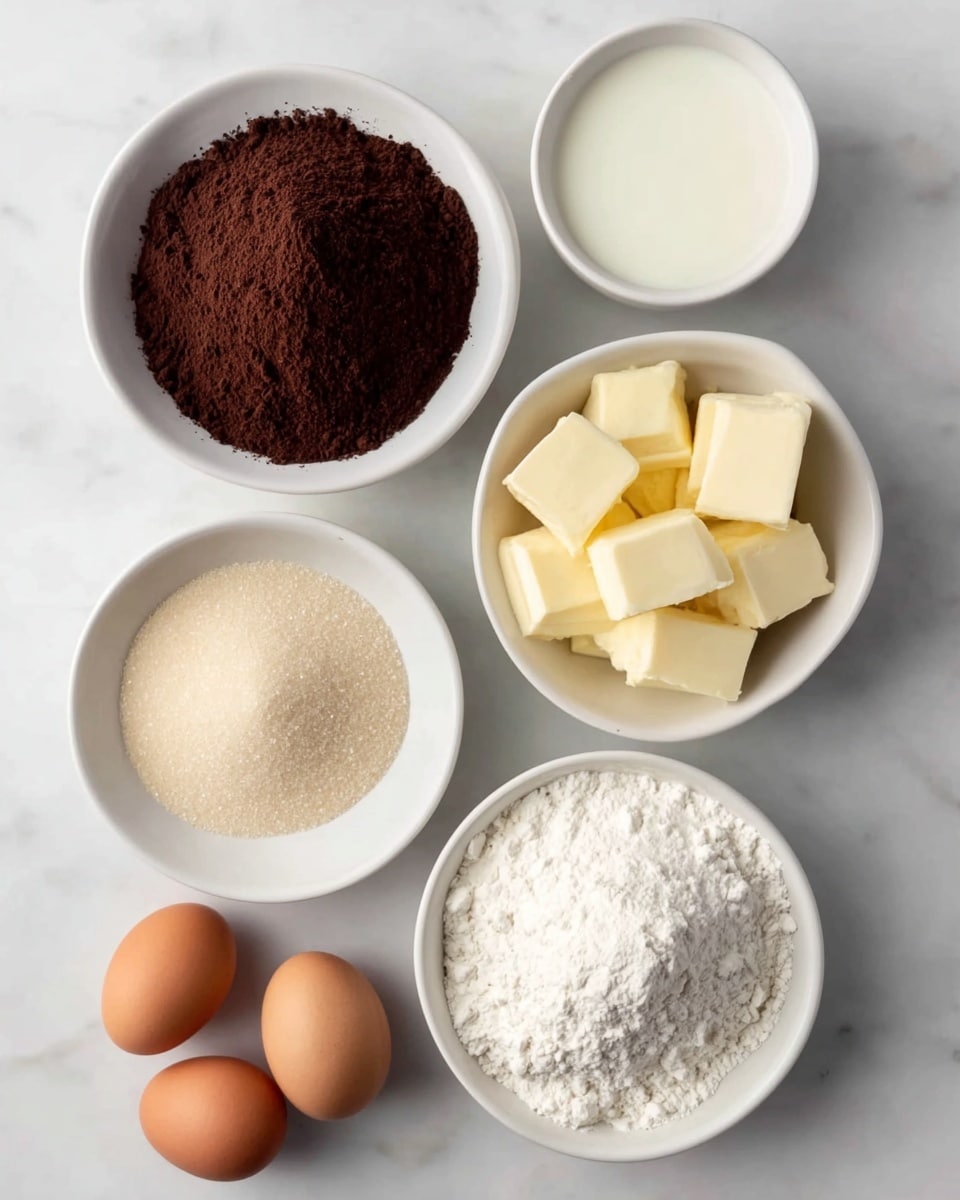
Ingredients You’ll Need
Each of these ingredients plays its part, blending together to create cookies that are soft, slightly fudgy, and bursting with minty goodness. When I shop for this recipe, I always look for good-quality cocoa powder and fresh candy cane Hershey’s Kisses—they really make a difference.
- All-purpose flour: Make sure to spoon and level it for accuracy to keep your cookies tender and just the right thickness.
- Dutch process cocoa powder: This gives the cookies a smooth, rich chocolate flavor that isn’t too bitter.
- Baking powder and baking soda: Together they help your cookies rise just enough without getting cakey.
- Salt: Enhances the chocolate flavor – never skip this even in sweet cookies!
- Unsalted butter: Softened at room temperature; it creates that perfectly soft texture.
- Light brown sugar: Adds moisture and a little caramel note that pairs beautifully with chocolate.
- Granulated sugar: Provides a slight crispness and balances sweetness.
- Egg yolks: Only the yolks are called for, which keeps your cookies rich and chewy.
- Vanilla extract: Boosts all the flavors and adds a lovely warmth.
- Candy Cane Hershey Kisses: Frozen before baking so they don’t melt completely—just the right peppermint punch!
- Granulated sugar for rolling: This little step adds a delicate crunch to the outside of the cookie.
Variations
I love experimenting with this Chocolate Peppermint Kiss Cookies Recipe depending on the occasion or mood. If you want to switch things up a bit, there are some fun ways to personalize these cookies easily.
- Double chocolate chip: I sometimes toss in some mini chocolate chips for extra gooey pockets of chocolate—because who can say no to that?
- Almond extract twist: Adding a hint of almond extract alongside vanilla makes the flavor even richer and unique.
- Gluten-free option: Swap the all-purpose flour with a 1:1 gluten-free blend, and they turn out wonderfully chewy still.
- Holiday sprinkle topping: After rolling in sugar, try topping each cookie with crushed peppermint candies for an extra festive touch.
- Dark chocolate kisses: Using dark chocolate peppermint kisses gives a more intense chocolate flavor and balances the sweetness.
How to Make Chocolate Peppermint Kiss Cookies Recipe
Step 1: Mix Your Dry Ingredients
Start by whisking together your all-purpose flour, Dutch cocoa powder, baking powder, baking soda, and salt in a medium bowl. This blend is the backbone of your cookie dough, and mixing it beforehand ensures your baking agents are evenly spread, so your cookies bake perfectly every time.
Step 2: Cream the Butter and Sugars
In a large bowl, beat the softened unsalted butter with both light brown sugar and granulated sugar until the mixture is light and fluffy—this usually takes about 3-4 minutes with an electric mixer. I find this step crucial because creaming the butter well helps create the tender, irresistible texture I love in these cookies.
Step 3: Add the Egg Yolks and Vanilla
Next, mix in the egg yolks one at a time, making sure each is fully incorporated before adding the next, then stir in the vanilla extract. This keeps your dough smooth and rich without weighing it down.
Step 4: Combine Wet and Dry Ingredients
Gradually add your dry ingredient mixture to the wet mixture, mixing until just combined. You want to avoid overmixing here; stopping as soon as the flour disappears prevents your cookies from becoming tough.
Step 5: Chill and Prepare Candy
Cover your dough and chill it in the refrigerator for about 30 minutes. Meanwhile, unwrap your candy cane Hershey Kisses and pop them in the freezer. Freezing the kisses keeps them from melting fully inside the cookie during baking—this little trick is key for that perfect peppermint burst.
Step 6: Shape, Roll, and Bake
Preheat your oven to 350°F (175°C). Scoop dough into 1-inch balls, roll them lightly in granulated sugar, and place them on a baking sheet lined with parchment paper, leaving space to spread. Bake for about 9-11 minutes until the edges set but the centers are still soft.
Step 7: Press the Kiss
As soon as the cookies come out of the oven, gently press a frozen candy cane Hershey Kiss into the center of each one. Don’t push too hard—it’ll sink naturally! Let the cookies cool completely on the sheet. Watching each Kiss slightly melt into the warm cookie is one of my favorite moments.
How to Serve Chocolate Peppermint Kiss Cookies Recipe
Garnishes
I usually keep it simple with these cookies — the candy kiss on top is enough decoration. But when I’m feeling fancy, I sprinkle a little crushed peppermint candy or edible glitter for sparkle. It adds a festive touch and a bit of crunch to every bite.
Side Dishes
These cookies pair wonderfully with a warm mug of hot cocoa or peppermint tea. During the holidays, I love serving them alongside a platter of assorted nuts and dried fruits. It makes for a cozy, balanced snack spread that everyone appreciates.
Creative Ways to Present
For holiday parties, I’ve placed the cookies on decorative trays lined with colorful napkins and accompanied by peppermint sticks for a charming, themed display. Another fun idea is arranging them around a tall glass of milk or stacking them as edible “trees” for a playful centerpiece.
Make Ahead and Storage
Storing Leftovers
Once cooled, I store leftover cookies in an airtight container at room temperature, layering parchment paper between them to prevent sticking. They usually stay deliciously soft for up to 4 days—perfect if you want to bake ahead of time.
Freezing
If I want to make a big batch in advance, I freeze the unbaked cookie dough balls on a baking sheet, then transfer them to a freezer bag. When it’s time to bake, just pop the frozen dough balls directly onto a baking sheet; it actually helps preserve that fresh-baked taste.
Reheating
To revive leftover cookies, I pop them in the microwave for about 10 seconds or warm them in a preheated oven at 300°F for around 5 minutes. This little heat brings back the melty chocolate and soft texture every single time.
FAQs
-
Can I use regular Hershey Kisses instead of candy cane ones?
Absolutely! Regular Hershey Kisses work well if you want just a classic chocolate surprise inside. However, using candy cane flavored Kisses adds that refreshing peppermint twist which makes this recipe so special.
-
Why do I need to freeze the candy kisses before baking?
Freezing the Kisses ensures they hold their shape and don’t fully melt during baking, giving you that perfect soft chocolate center. It also prevents the candy from bleeding into the cookie dough.
-
Can I make the dough ahead of time?
Yes! Chilling the dough not only helps manage the rolling step but also improves the flavor and texture of the cookies. You can refrigerate dough for up to 48 hours before baking.
-
How do I prevent my cookies from spreading too much?
Make sure your butter isn’t too soft or melted when mixing, and chilling the dough before baking helps slow down spreading. Also, keep your oven temperature accurate; too low can cause spreading.
-
Are these cookies gluten-free?
Not as written, but you can use a gluten-free flour blend in place of all-purpose flour to make these cookies gluten-free. Just be sure to choose one designed for baking for the best texture.
Final Thoughts
This Chocolate Peppermint Kiss Cookies Recipe holds a special place in my heart because it combines simplicity with festive flavor in a way that always delights. Whether you’re baking for family, friends, or just yourself, these cookies feel like a warm holiday hug. I really hope you give this recipe a try—you’re going to love the soft, chocolaty base with that refreshing peppermint surprise. It’s the kind of treat you’ll want to make again and again.
Print
Chocolate Peppermint Kiss Cookies Recipe
- Prep Time: 20 minutes
- Cook Time: 10 minutes
- Total Time: 30 minutes
- Yield: 34 cookies 1x
- Category: Dessert
- Method: Baking
- Cuisine: American
Description
These Chocolate Peppermint Kiss Cookies combine rich cocoa with the festive flavor of peppermint candy cane Hershey Kisses. Soft, chewy, and perfectly sweet, they’re rolled in sugar and topped with a frozen peppermint kiss for a delightful holiday treat that’s easy to make and sure to impress.
Ingredients
Dry Ingredients
- 1 1/2 cups (188 g) all-purpose flour, spooned and leveled
- 1/2 cup (40 g) Dutch process cocoa powder
- 1/2 tsp baking powder
- 1/2 tsp baking soda
- 1/2 tsp salt
Wet Ingredients
- 3/4 cup (168 g) unsalted butter, softened
- 3/4 cup (165 g) light brown sugar, packed
- 1/4 cup (50 g) granulated sugar
- 2 egg yolks, at room temperature
- 1 tsp vanilla extract
Toppings
- 34 Candy Cane Hershey Kisses, frozen
- 1/4 cup (50 g) granulated sugar for rolling dough balls
Instructions
- Preheat Oven: Preheat your oven to 350°F (175°C) and line baking sheets with parchment paper to prevent sticking and for easy cleanup.
- Mix Dry Ingredients: In a medium bowl, whisk together the all-purpose flour, Dutch process cocoa powder, baking powder, baking soda, and salt until well combined. This ensures an even distribution of leavening agents and cocoa.
- Cream Butter and Sugars: In a large bowl, use an electric mixer to cream the softened butter, light brown sugar, and granulated sugar until the mixture is light and fluffy, about 3-4 minutes. This process incorporates air for a tender cookie texture.
- Add Egg Yolks and Vanilla: Beat in the egg yolks one at a time, mixing well after each addition, then stir in the vanilla extract. Mixing the egg yolks thoroughly helps with texture and richness.
- Combine Wet and Dry Ingredients: Gradually add the dry ingredient mixture to the wet ingredients, mixing on low speed until just combined. Avoid overmixing to keep cookies tender.
- Form Dough Balls and Roll in Sugar: Scoop tablespoon-sized portions of dough and roll them into balls. Then, roll each dough ball in the 1/4 cup granulated sugar to coat evenly. This adds a subtle crunch and sparkle to the cookie exterior.
- Arrange on Baking Sheets: Place the sugared dough balls about 2 inches apart on the prepared baking sheets to allow for spreading.
- Bake Cookies: Bake in the preheated oven for 9-10 minutes. The cookies should be set around the edges but still soft in the center when removed.
- Add Peppermint Kisses: Immediately after removing cookies from the oven, press a frozen Candy Cane Hershey Kiss gently into the center of each cookie. The heat will slightly melt the base of the kiss, helping it to adhere without losing its shape.
- Cool: Allow the cookies to cool on the baking sheet for about 5 minutes before transferring to a wire rack to cool completely. This prevents the cookies from breaking and allows the kiss to set properly.
Notes
- Freezing the Candy Cane Hershey Kisses before using prevents them from melting too much when pressed into hot cookies.
- Do not overbake; cookies should remain soft and slightly chewy.
- You can store these cookies in an airtight container at room temperature for up to one week.
- For extra flavor, consider adding a teaspoon of peppermint extract along with the vanilla.
- If you prefer milk chocolate Kisses, use those instead for a less peppermint-forward flavor.


